
How to Build a Premium, Long-Lasting Fence with Pressure-Treated Wood
Building a premium fence is more than just putting up posts and boards. It’s about creating a structure that offers security, privacy, and aesthetic value to your property for decades. If you’re aiming for durability and a professional finish, pressure-treated wood is one of the best materials to use. Here’s a detailed guide on how to build a long-lasting fence that stands the test of time.
1. Why Choose Pressure-Treated Wood?
Pressure-treated wood is infused with chemical preservatives that help protect it against rot, insects, and moisture damage. This makes it ideal for outdoor structures like fences, especially in varying Canadian weather conditions. The treatment process extends the life of the wood significantly compared to untreated lumber.
2. Planning and Permits
Before digging holes or buying materials, check with your municipality for fencing bylaws, height restrictions, and permit requirements. Also, speak with your neighbours if the fence lies on a shared property line.
3. Tools and Materials You’ll Need
- Tools:
- Post hole digger or auger
- Level
- Hammer or nail gun
- Circular saw
- Measuring tape
- String line
- Drill
- Materials:
- Pressure-treated fence boards (1×6 or 1×8)
- Pressure-treated 4×4 posts
- Pressure-treated 2×4 rails
- Galvanized nails or deck screws
- Concrete mix
- Gravel
4. Step-by-Step Installation Process
Step 1: Mark Your Fence Line Use stakes and string to outline your fence. Measure and mark where each post will go (typically 6 to 8 feet apart).
Step 2: Dig and Set Posts Dig holes about 36 inches deep. Add 6 inches of gravel for drainage. Insert your 4×4 posts, use a level to ensure they’re straight, then fill with concrete. Let the concrete cure for at least 24 hours.
Step 3: Attach Rails Secure 2×4 horizontal rails to the posts using galvanized brackets or screws. Use two or three rails per panel, depending on height and stability needs.
Step 4: Install Fence Boards Attach fence boards vertically using galvanized nails or deck screws. Ensure consistent spacing (using a spacer or eyeballing it carefully). Stagger boards for a premium look and tighter privacy.
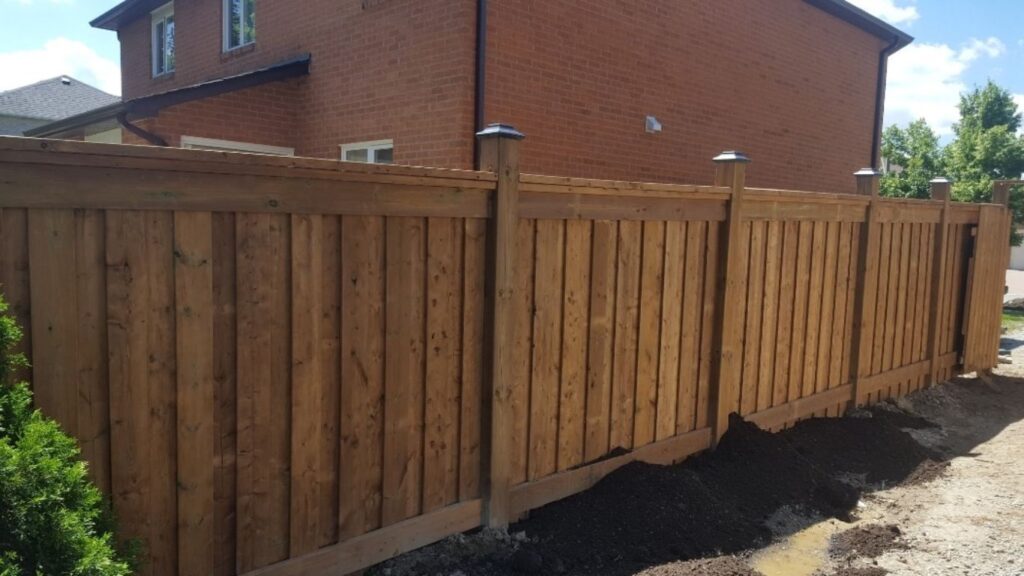
Step 5: Finishing Touches Cut the tops of the posts uniformly for a clean finish. Add post caps to protect against water damage. You may also paint or stain the wood once it has dried out (usually after a few weeks).
5. Maintenance Tips
- Inspect annually for signs of damage or wear.
- Reapply stain or sealant every 2-3 years.
- Keep soil and plants away from the bottom of the boards to reduce moisture contact.
Conclusion
A pressure-treated wood fence, when built with precision and maintained properly, can last 15-20 years or more. It not only enhances your home’s curb appeal but also adds value, safety, and privacy. Invest in quality materials, take your time with the build, and enjoy a premium fence that stands strong for years to come.